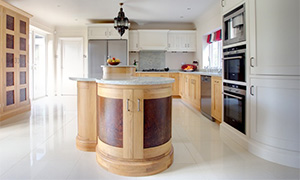
Automating your woodworking using a Legacy CNC will revolutionize the efficiency, precision, and speed of your production. Legacy’s CNC systems automate more woodworking disciplines than any other CNC leading to increased productivity and allowing for more complex and intricate designs.
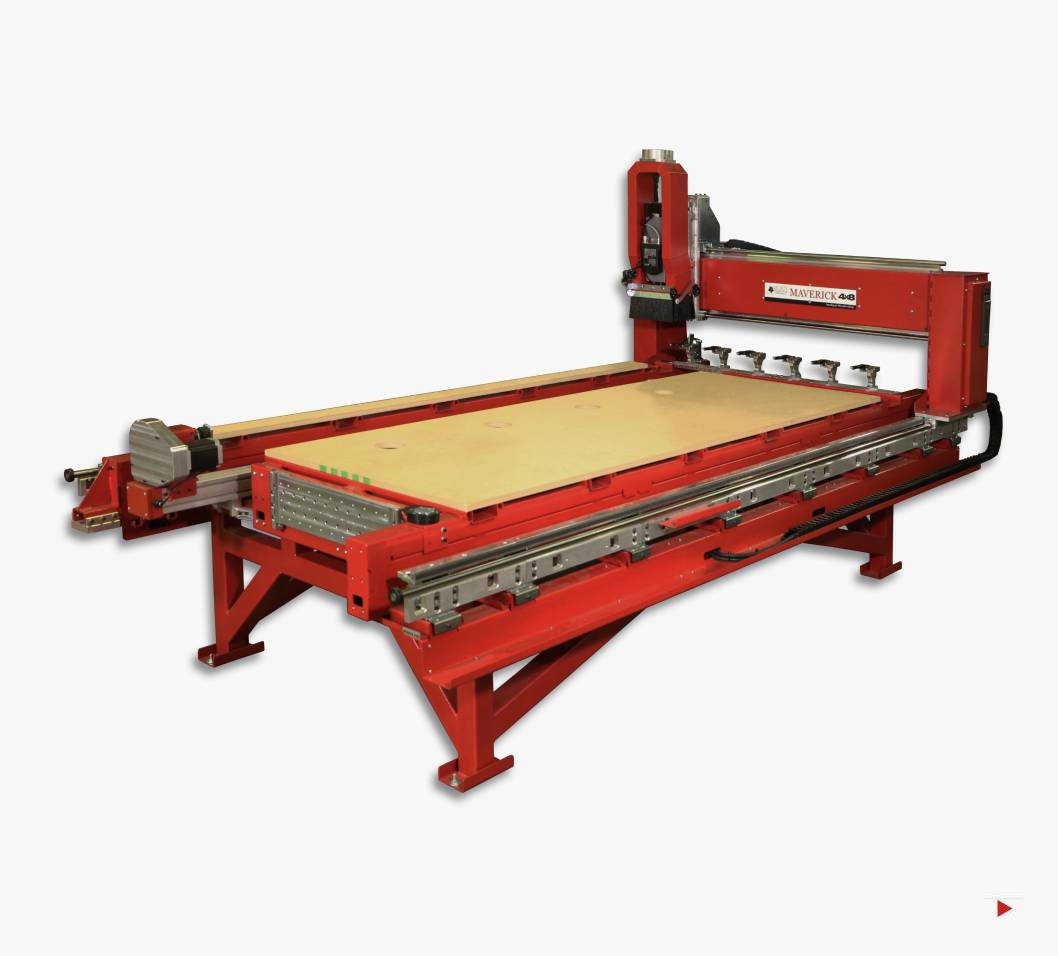
The Best CNC For Automating All Woodworking Disciples
Legacy’s CNC systems feature up to three workstations which will allow you to automate most of your woodworking task. No other CNC manufacturer offers you as many CNC capabilities.
Most people purchase all three workstations; however, you can customize your CNC to fit your exact requirements.
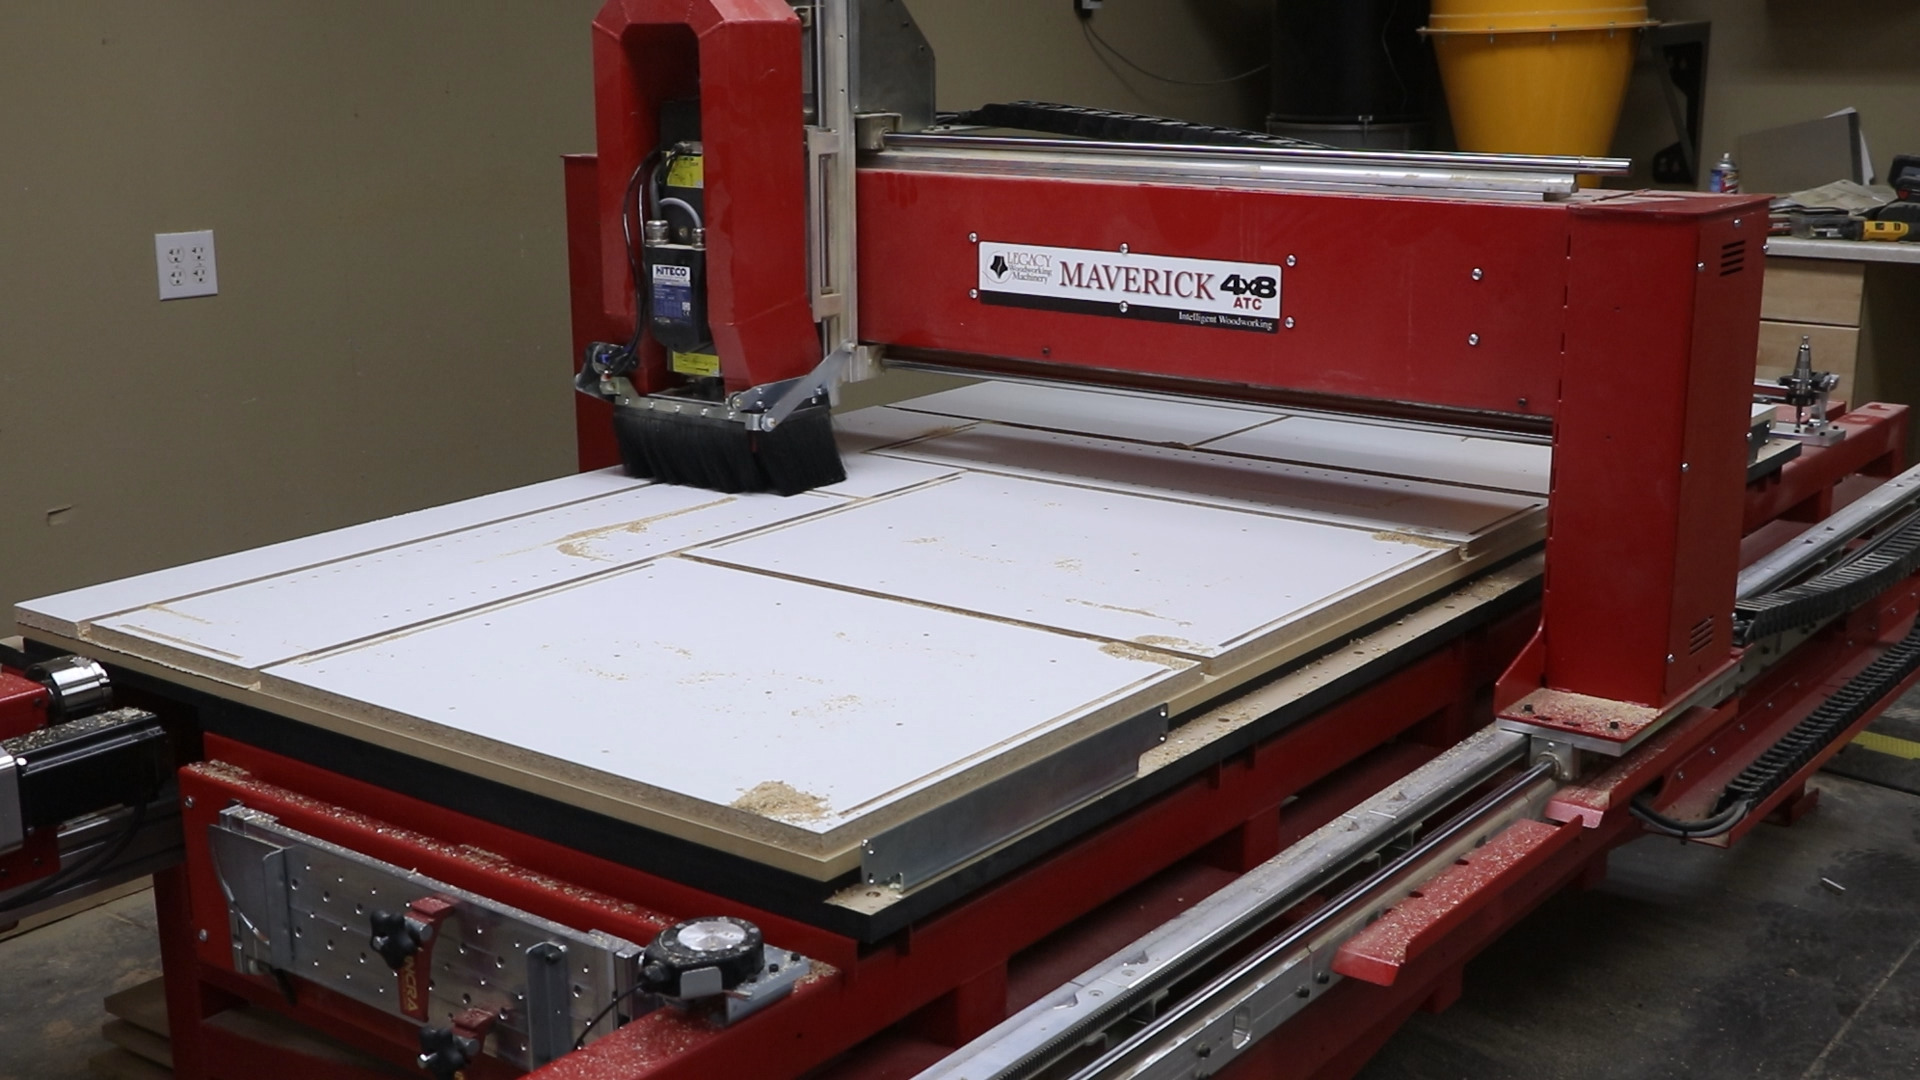
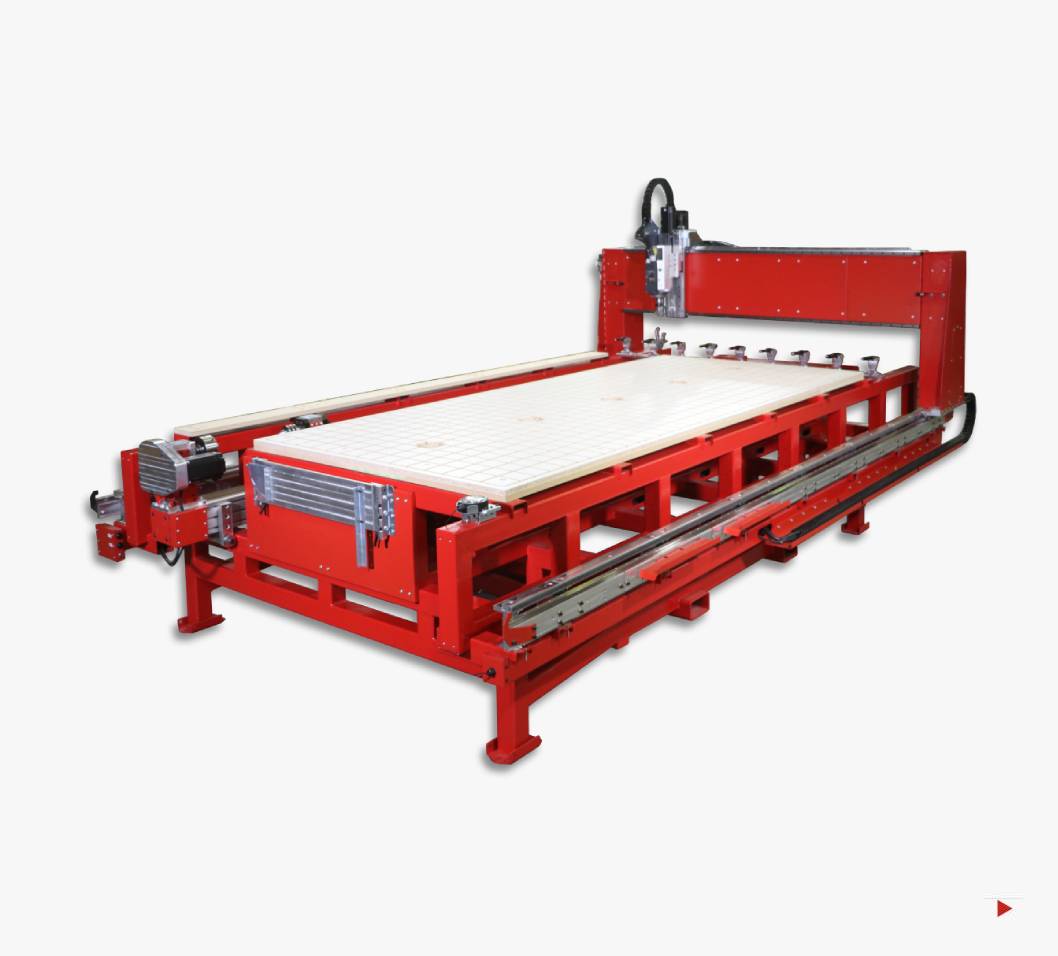
Horizontal Workstation
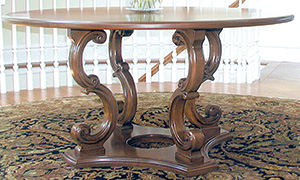
All CNC Routers work on a table with three axes of control. Some are dedicated to sheet processing with vacuum hold down, and others are dedicated to part processing. Legacy’s Horizontal Workstation allows you to do both sheet processing and part process.
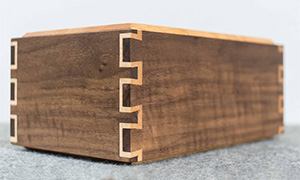
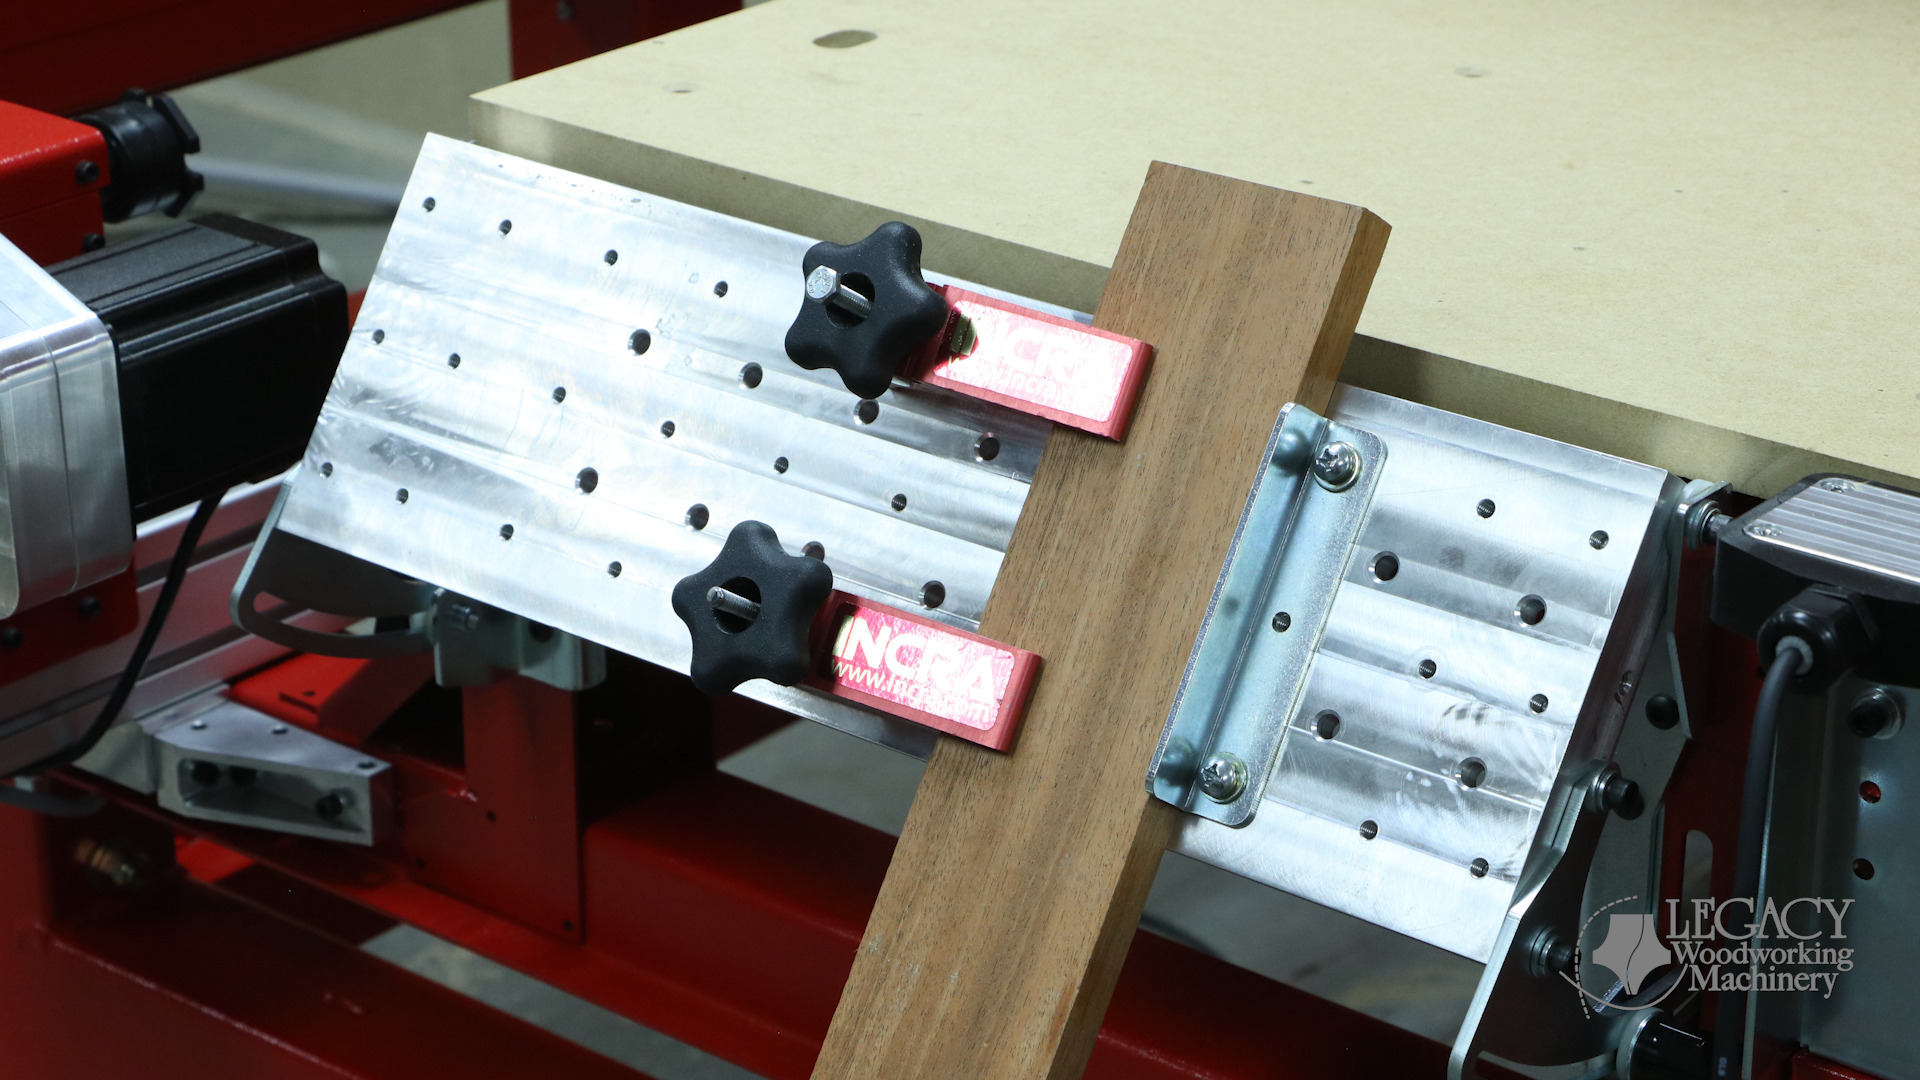
Legacy’s Vertical Workstation allows you to work on the ends or edges of a part. The vertical table can be set between 0 and 90 degrees to perform a variety of compound angle processes including those challenging joints used in chair building.
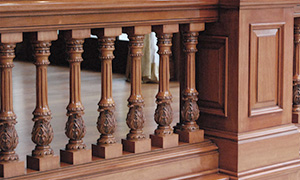
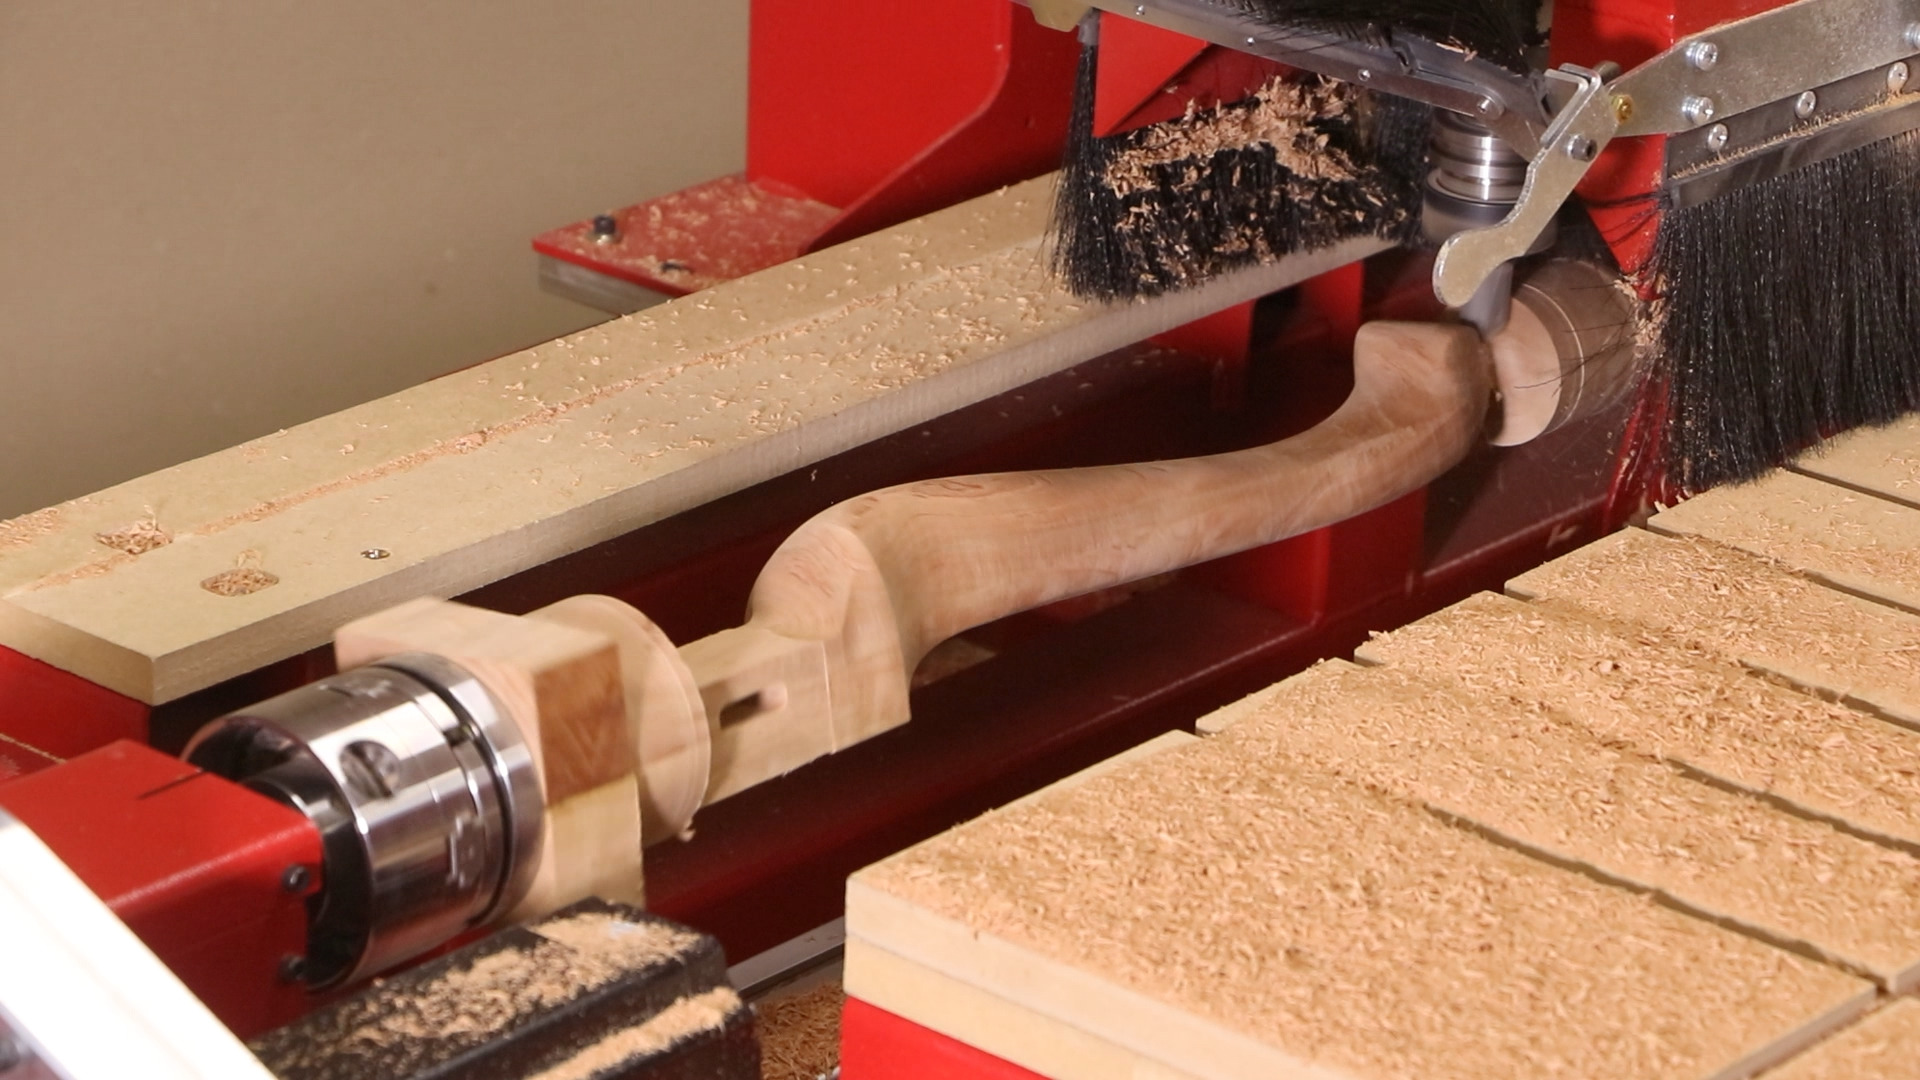
No one builds a turning center as versatile as Legacy’s. Our 4-axis interpolated control allows you to work with round, flat, multi-sided, and asymmetrical parts. In addition, the angle of the bed can be set fast tapering operations. Legacy’s CCAM Pro software allows you to use the CNC as a simple copy lathe.
As a member of our community, you can join our online CNC workshops. These workshops include programming and operating techniques, simple to advance projects, and a Q&A session where you can learn from a community of experienced and talented CNC professionals.In addition, you will receive emails with Legacy’s latest products,see our CNC systems at work, andreceivenews about our special offers.